大家都了解在MS家族中iis作为internet服务器可谓是赫赫有名,简单,方便。
而且相关的web程序(asp,asp.net)也是比比皆是。
我们希望java开发的web程序可以和iis共存(共同使用80端口发布)。
这方面的教程网上很多,多数是copy之后又copy,以至于有些细节一直含糊不清,也导致我走了许多弯路。在此留个脚印防止日后的错误。
软件及环境
windows server 2003
IIS 6.0
Tomcat 6.0.20
JDK 6.0
JK isapi_redirect-1.2.14 (很多情况下是由于isapi_redirect 的版本不符,我之前用过最新的1.2.28但是没有整合成功 大家可以尝试一下,这个软件好像不太好找,为大家提供了本地下载,速度更快)
1.安装IIS
控制面板--> 添加删除程序 --> 添加删除windows组件
2.安装java环境,这里要用jdk而不是jre
我安装到
复制代码 代码如下:
c:\java\jdk1.6
不要忘记配置环境变量
3.安装tomcat
我的安装目录是
复制代码 代码如下:
C:\tomcat6
启动tomcat
测试8080端口

4.基本工作完成 下面我们进行整合
安装isapi_redirect-1.2.14 当然也可以直接使用isapi_redirect-1.2.14.dll + 配置文件手动编写,不过对于首次安装还是建议使用安装文件,防止配置文件书写产生误差导致整合不成功。

一路next
安装目录是
C:\Program Files\Apache Software Foundation\Jakarta Isapi Redirector
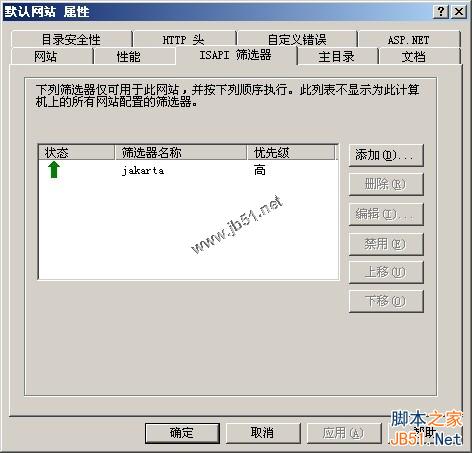
5.打开iis的管理界面
查看默认站点是否存在

中的jakarta的虚拟目录
并查看属性中

是否存在jakarta的筛选器。至于向上的绿色箭头可能没有(网上很多都指出要求由此,实际上只有配置之后首次访问的时候,才进行加载)只要不是红色就可以。
如果没有则创建,
添加筛选器 名称jakarta 文件地址 C:\Program Files\Apache Software Foundation\Jakarta Isapi Redirector\bin\isapi_redirect.dll
创建虚拟目录

别名 jakarta (必须) 路径 C:\Program Files\Apache Software Foundation\Jakarta Isapi Redirector\bin\
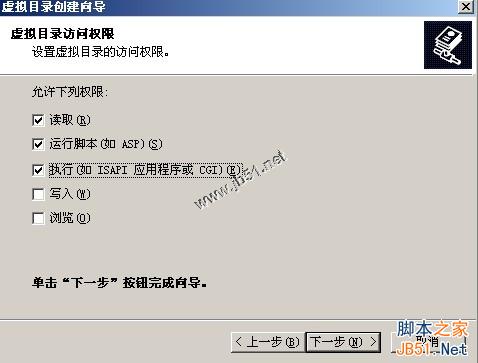
访问权限

不要忘记 运行脚本 执行 勾选
ok
8.我们在tomcat app下面随便建立个工程 我这里是目录名0431la
修改配置文件
C:\Program Files\Apache Software Foundation\Jakarta Isapi Redirector\conf\uriworkermap.properties
# uriworkermap.properties - IIS
#
# This file provides sample mappings for example wlb
# worker defined in workermap.properties.minimal
# The general syntax for this file is:
# [URL]=[Worker name]

/admin/*=wlb
/manager/*=wlb
/jsp-examples/*=wlb
/servlets-examples/*=wlb

# Optionally filter out all .jpeg files inside that context
# For no mapping the url has to start with exclamation (!)

!/servlets-examples/*.jpeg=wlb

#
# Mount jkstatus to /jkmanager
# For production servers you will need to
# secure the access to the /jkmanager url
#
/jkmanager=jkstatus
/0431la/*=wlb
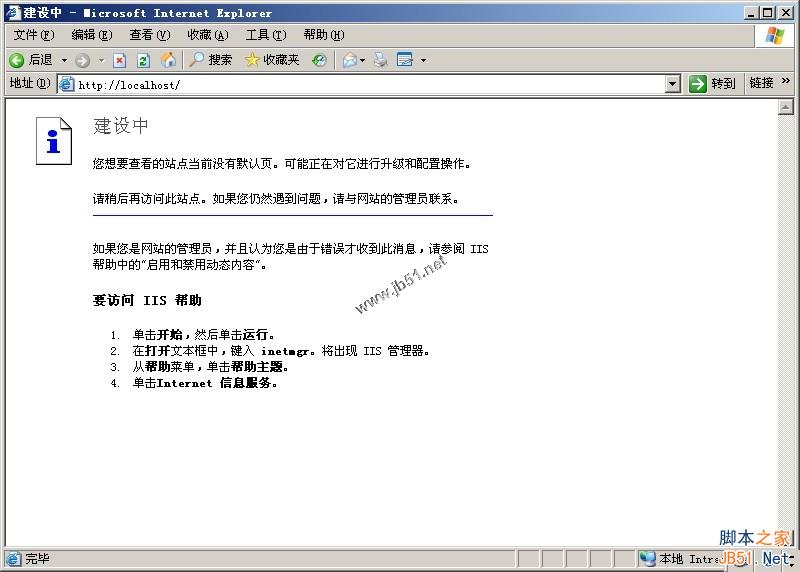
我们重启tomcat 和 iis 并访问测试
iis的重启可以通过鼠标右键我的电脑 --> 管理 进行重启

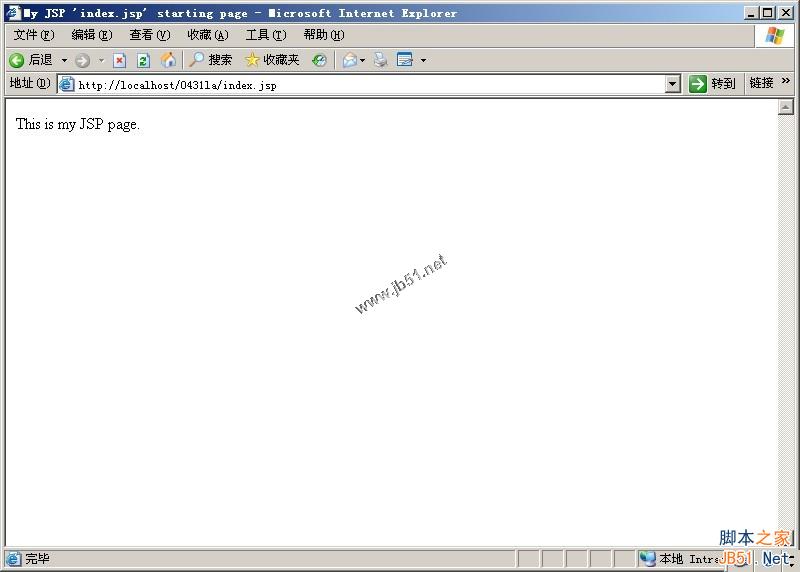
接下来我们可以进行测试


ok了 虽然这不是我们的最终结果 但是至少我们之前配置的没有问题了
下面我们进行虚拟主机的配置
9.我们把0431la目录放到c盘根目录并配置tomcat的虚拟主机
复制代码 代码如下:
<Host name="www.0431.la" debug="0" appBase="c:\0431la" unpackWARs="true" autoDeploy="true">
<Context path="" docBase="c:\0431la" debug="0" reloadable="true"/>
</Host>
10.在iis下面配置虚拟主机的映射目录
并添加jakarta虚拟目录 和 isapi筛选 配置过程可参考第五步
11.修改配置文件
C:\Program Files\Apache Software Foundation\Jakarta Isapi Redirector\conf\uriworkermap.properties
复制代码 代码如下:
# uriworkermap.properties - IIS
#
# This file provides sample mappings for example wlb
# worker defined in workermap.properties.minimal
# The general syntax for this file is:
# [URL]=[Worker name]
/admin/*=wlb
/manager/*=wlb
/jsp-examples/*=wlb
/servlets-examples/*=wlb
# Optionally filter out all .jpeg files inside that context
# For no mapping the url has to start with exclamation (!)
!/servlets-examples/*.jpeg=wlb
#
# Mount jkstatus to /jkmanager
# For production servers you will need to
# secure the access to the /jkmanager url
#
/jkmanager=jkstatus
/0431la/*=wlb
/*.jsp=wlb
让jsp请求交由tomcat处理
呵呵
重启iis 和 tomcat 看看我们的成果
我们可以考但jsp请求完全正常解析了。
复制代码 代码如下:
<%@ page language="java" import="java.util.*" pageEncoding="ISO-8859-1"%>
<%
String path = request.getContextPath();
String basePath = request.getScheme()+"://"+request.getServerName()+":"+request.getServerPort()+path+"/";
%>
<!DOCTYPE HTML PUBLIC "-//W3C//DTD HTML 4.01 Transitional//EN">
<html>
<head>
<base href="<%=basePath%>" rel="external nofollow" >
<title>My JSP 'index.jsp' starting page</title>
<meta http-equiv="pragma" content="no-cache">
<meta http-equiv="cache-control" content="no-cache">
<meta http-equiv="expires" content="0">
<meta http-equiv="keywords" content="keyword1,keyword2,keyword3">
<meta http-equiv="description" content="This is my page">
<!--
<link rel="stylesheet" type="text/css" href="styles.css" rel="external nofollow" >
-->
</head>
<body>
This is my JSP page. <br>
</body>
</html>
该jsp是myeclipse工程自动生成的。


