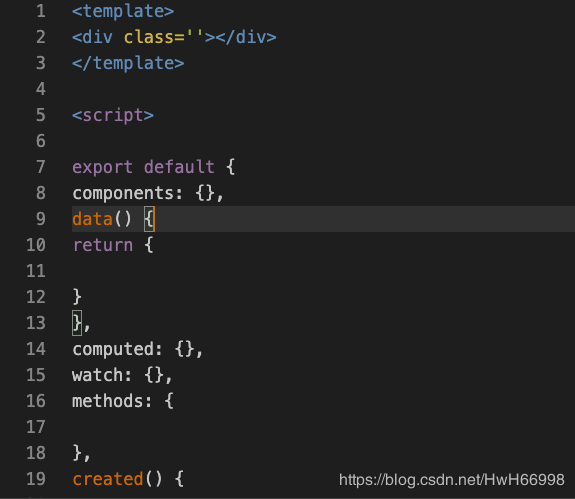
1. 安装一个插件,识别vue文件
2.新建代码片段
文件–>首选项–>用户代码片段–>点击新建代码片段–取名vue.json 确定
3.粘贴入自己写的.vue模板
{
 "Print to console": {
 "prefix": "vue",
 "body": [
  "<!-- $1 -->",
  "<template>",
  "<div class='$2'>$5</div>",
  "</template>",
  "",
  "<script>",
  "",
  "export default {",
  "components: {},",
  "data() {",
  "return {",
  "",
  "}",
  "},",
  "computed: {},",
  "watch: {},",
  "methods: {",
  "",
  "},",
  "created() {",
  "",
  "},",
  "mounted() {",
  "",
  "},",
  "}",
  "</script>",
  "<style lang='scss' scoped>",
  "$4",
  "</style>"
 ],
 "description": "Log output to console"
 }
}
4.上面代码中的 “prefix”: “vue”, 就是快捷键;保存好之后,新建.vue结尾的文件
输入vue 按键盘的tab
补充:
vscode之快速生成vue模板的配置
在vscode中点击左下角的设置---用户代码片段---输入:vue.json,将以下代码复制保存,然后新建.vue文件,输入:vue,回车即可。可按需自行添加内容。
{
  "Print to console": {
    "prefix": "vue",
    "body": [
      "<template>",
      " <div>",
      "  $0",
      " </div>",
      "</template>",
      "",
      "<script>",
      "",
      " export default {",
      "  name:'',",
      "  props:[''],",
      "  data () {",
      "   return {",
      "",
      "   };",
      "  },",
      "",
      "  components: {},",
      "",
      "  computed: {},",
      "",
      "  beforeMount() {},",
      "",
      "  mounted() {},",
      "",
      "  methods: {},",
      "",
      "  watch: {}",
      "",
      " }",
      "",
      "</script>",
      "<style lang='' scoped>",
      "",
      "</style>"
    ],
    "description": "Log output to console"
  }
}
总结


